Wall-mounted weight racks are an excellent solution for organizing gym equipment efficiently while saving valuable floor space. Whether you’re outfitting a home gym or a commercial facility, installing a wall-mounted rack can help keep weights neatly stored and easily accessible. However, proper installation is crucial to ensure safety and durability, requiring some preparation and attention to detail. This article outlines the essential steps to prepare your space and install a wall-mounted weight rack securely.
Preparing Your Space for Wall-Mounted Weight Rack Installation
Before installing a wall-mounted weight rack, it is important to evaluate the designated wall space to ensure it can support the weight and size of the rack. A solid foundation, such as a stud-supported wall or concrete surface, is necessary to hold heavy weights without risk of damage or injury. Use a stud finder to locate wooden studs behind drywall or verify the condition of masonry for appropriate anchor points.
Clear the area around the installation site to allow for unobstructed access during the mounting process. Remove any furniture, gym equipment, or decorations that might interfere with the installation. Additionally, measure the height and width of the space to ensure the rack fits comfortably and does not block walkways or other equipment.
Finally, gather all necessary tools and materials before starting. Common tools include a drill, level, measuring tape, screwdriver, and appropriate mounting hardware such as lag bolts or anchors suited for your wall type. Having everything prepared ahead of time streamlines the installation and reduces the chance of errors.
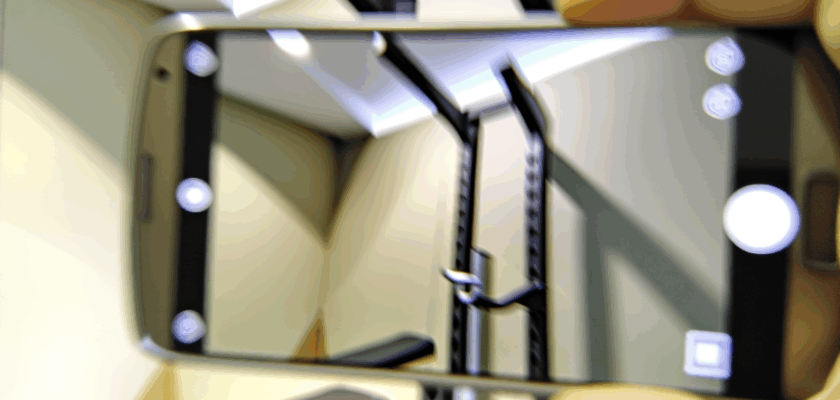
Step-by-Step Guide to Installing a Wall-Mounted Weight Rack
Begin the installation by marking the mounting points on the wall using a pencil and level to ensure the rack will be perfectly horizontal. Align the rack’s mounting holes with the studs or anchors identified during the preparation phase. Accurate marking is essential to guarantee a secure and balanced installation.
Next, drill pilot holes at the marked points to facilitate easy insertion of lag bolts or anchors. For drywall installations, use heavy-duty wall anchors designed for weight-bearing purposes. For concrete or brick walls, masonry anchors are the best choice. Insert the anchors securely before attaching the rack to prevent loosening over time.
Once the mounting hardware is in place, lift the weight rack and align it with the anchors or studs. Secure the rack using the appropriate bolts or screws, tightening them firmly with a wrench or screwdriver. After installation, test the rack by gently applying weight to ensure stability and safety before loading it with heavier equipment.
Installing a wall-mounted weight rack is a practical way to maximize gym space and maintain equipment organization. By carefully preparing your wall and methodically following installation steps, you can create a safe and reliable storage solution. Proper installation not only preserves the integrity of your walls but also protects users from potential accidents, making it an essential task for any fitness area.