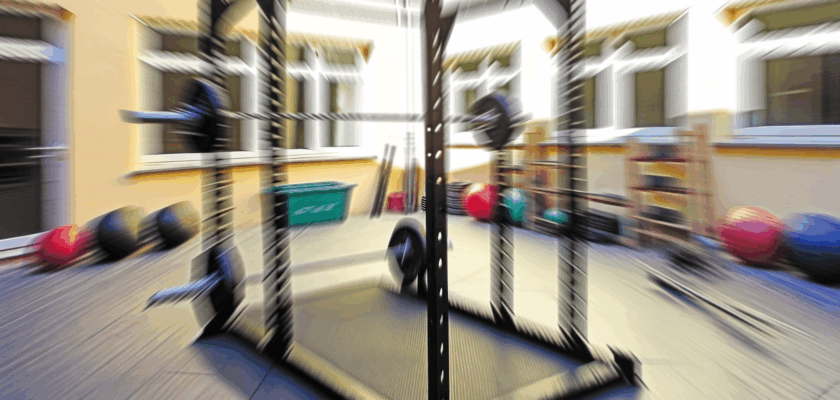
Building a compact squat rack at home is an excellent way to save space and customize your workout environment. Whether you’re limited by room size or budget, a well-constructed squat rack allows you to safely perform squats, overhead presses, and other essential lifts. This article guides you through the necessary materials and tools needed for the project, followed by a clear step-by-step assembly process to ensure your rack is both sturdy and functional.
Essential Materials and Tools for Building a Compact Squat Rack
To start building a compact squat rack, gathering the right materials is crucial. The primary component is typically steel or heavy-duty metal tubing, which offers durability and strength to support heavy weights. You will also need metal plates or angle iron for base support and stability. Welding rods or bolts and nuts are required depending on whether you choose a welded or bolted design.
In addition to metal materials, protective coatings like paint or powder coating are recommended to prevent rust and wear over time. Rubber or foam padding may also be useful for the barbell rests to prevent damage to the bar and reduce noise. Finally, bolts, washers, and locking pins are important for assembling adjustable components that allow you to modify rack height for different exercises.
The right tools are equally important for a successful build. A welder or a drill with metal bits, a grinder or sander for smoothing edges, and a measuring tape for precision are essential. Safety gear like gloves, goggles, and a mask cannot be overlooked, especially when welding or cutting metal. Additionally, a level will help ensure that your rack stands evenly, which is vital for safe lifting.
Step-by-Step Guide to Assemble Your Squat Rack Securely
Begin your assembly by carefully measuring and cutting the metal tubing to the desired dimensions of your squat rack. Typical compact racks stand between 5 to 6 feet tall with a width suitable to accommodate your barbell. Ensure each cut is straight and smooth the edges with a grinder to prevent injuries during assembly and use. Mark the points where the uprights will connect to the base and cross braces.
Next, assemble the base frame by joining the metal plates or angle irons with either welding or bolted connections. Use a level to make sure the base is perfectly flat and square before proceeding. Once the base is secure, attach the vertical uprights, which will serve as the main supports for the barbell. Reinforce the structure with diagonal cross braces if your design includes them, as this will add stability and prevent wobbling.
Finally, install adjustable barbell hooks or J-cups at multiple heights to accommodate various exercises and user preferences. Secure all bolts tightly, and if welding, ensure each joint is clean and solid. Double-check the rack’s stability by gently applying pressure to different points before placing any heavy weights on it. Adding rubber feet or pads to the base will help protect your flooring and reduce slippage during workouts.
Building a compact squat rack requires careful planning, proper materials, and attention to safety details. By following the outlined steps and using the right tools, you can create a reliable and space-saving rack tailored to your home gym needs. Investing time in construction and quality materials will pay off with a durable rack that supports your fitness goals for years to come.