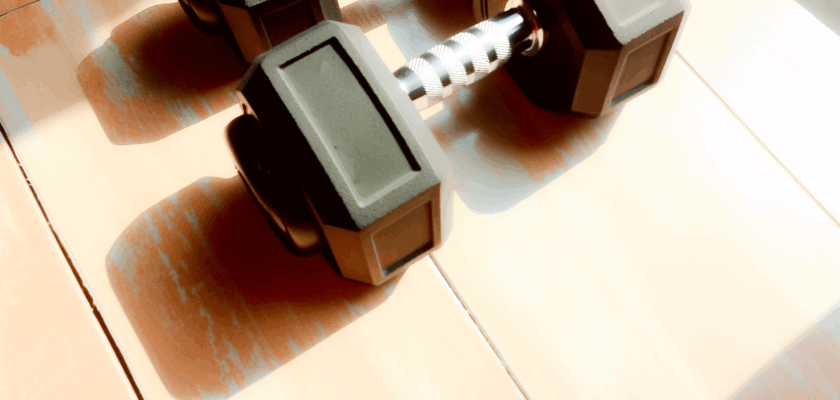
Old dumbbells can hold sentimental value or simply be a cost-effective way to maintain a home gym. However, years of use and exposure to moisture, dust, and sweat often leave these weights looking worn and rusty. Refurbishing your old dumbbells not only extends their lifespan but also restores their aesthetic appeal and improves their grip and safety during workouts. This article provides a step-by-step guide on how to assess and refurbish your old dumbbells, turning them from neglected equipment into reliable fitness tools once again.
Assessing the Condition of Your Old Dumbbells
Before diving into the refurbishment process, it’s essential to thoroughly evaluate the current state of your dumbbells. Start by examining the surface for rust, corrosion, and any cracks or structural damage. Surface rust can often be treated with sanding, but deeper corrosion or metal fatigue may compromise the dumbbell’s integrity, making it unsafe to use. Pay particular attention to the handles, as worn or loose grips can affect your workout performance and safety.
Next, check the dumbbell’s weight plates and locking mechanisms, if applicable. Some older dumbbells have adjustable plates secured by collars or screws, which might have loosened or rusted over time. Ensure these parts are still functional and not stripped or damaged. If the plates are welded or fixed, inspect the weld joints for signs of cracking or weakening, as this could render refurbishment unsafe.
Finally, evaluate the overall cleanliness and surface texture. Accumulated dirt, sweat, and grime can degrade the material coating and promote rust. Additionally, a rough or uneven surface can be uncomfortable to hold. This assessment will help you determine the level of cleaning, sanding, and repainting needed, as well as whether any parts require replacement or professional repair.
Essential Tools and Materials for Refurbishing
Once you’ve assessed your dumbbells and determined they are suitable for refurbishment, gather the necessary tools and materials. The basic toolkit includes sandpaper or a wire brush for removing rust and old paint, as well as protective gloves and eyewear for safety. For stubborn rust, a rust remover or naval jelly can be highly effective in loosening corrosion before sanding.
You will also need cleaning supplies such as degreaser or soap and water to remove dirt and oil from the dumbbells. After cleaning and sanding, applying a rust-inhibiting primer and durable paint designed for metal surfaces is crucial to protect the dumbbells against future corrosion. Spray paint often provides a smoother, more even finish, but brush-on paint can be used for smaller touch-ups or textured surfaces.
Additionally, if the dumbbells have rubber or plastic grips that need replacement, you may want to purchase grip tape or replacement handles. For adjustable dumbbells, consider any replacement parts such as new collars or screws. Having a workspace that allows good ventilation during sanding and painting is also important to ensure your safety and the quality of the refurbishment.
Refurbishing old dumbbells is a practical and rewarding project that can save money and reduce waste while restoring your fitness gear to a like-new condition. By carefully assessing their condition and using the right tools and materials, you can effectively remove rust, repaint the metal, and replace worn grips, ensuring your dumbbells remain safe and comfortable to use. Whether for personal use or resale, taking the time to refurbish will give new life to your old weights and enhance your workout experience.